Five Small Experiments to Map Window Light and Pick the Right Spot for Any Plant
Choosing the right spot for a plant starts with one skill: being able to read a window. This short set of experiments walks you from quick observations to a small, reliable light map you can use all year. Each experiment is simple and builds on the one before it—do them in order and you’ll finish with a clear placement plan.
Experiment 1 — Shadow Lengths: a quick intensity sketch
Goal: get a feel for how strong sunlight is at different times of day.
Method
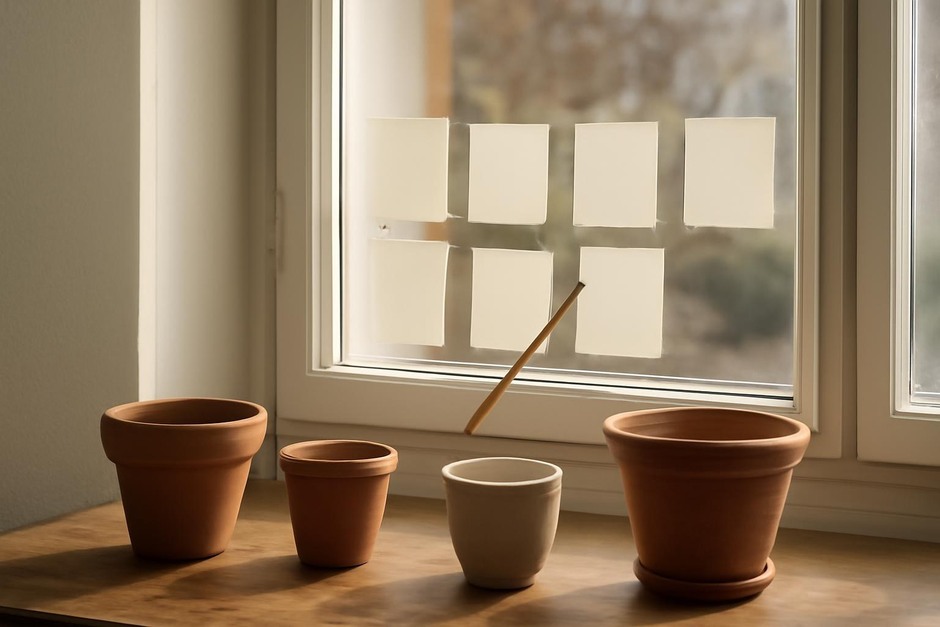
- Place a pencil upright on the sill or a table near the window.
- At three times (morning, midday, late afternoon) note the pencil’s shadow length and direction.
- Record or mark the shadow on a sheet of paper: long shadow = low angle/less intense direct sun; very short shadow = sun high and strong.
What to look for
If one slot produces a very short, sharp shadow, that time delivers the most direct sun. If shadows are soft and long all day, the window is more diffuse. This test gives a first-pass sense of direct‑sun hotspots versus general ambient light.
Experiment 2 — White Paper Brightness Test: compare a few spots
Goal: compare relative brightness across several candidate plant spots.
Method
- Tape identical pieces of white paper or card to three or four spots you’re considering (on the sill, beside the window, a nearby shelf).
- At the same time of day take a quick look or photograph the papers. Which looks coolest/brightest to your eye?
What to look for
White that appears bright and crisp indicates higher light. Papers that look dull or grey show lower light. This visual comparison helps separate “bright shade” from true low light.
Experiment 3 — Phone Photo Match: an easy numeric comparison
Goal: create a repeatable record you can compare later or across seasons.
Method
- Using your phone camera, photograph each candidate spot from the same distance and angle at the same time of day a few days in a row.
- If your phone shows exposure or a brightness slider when you tap the focal point, notice which spots push the camera darker (brighter spot) or lighter (dimmer spot).
What to look for
Photos remove some subjectivity. If one spot consistently shows higher exposure or more contrast, it’s reliably brighter. Save the photos for a simple before/after if you move furniture or track seasonal change.
Experiment 4 — Test Pots: the biological check
Goal: see how real plants react to each spot over a few weeks.
Method
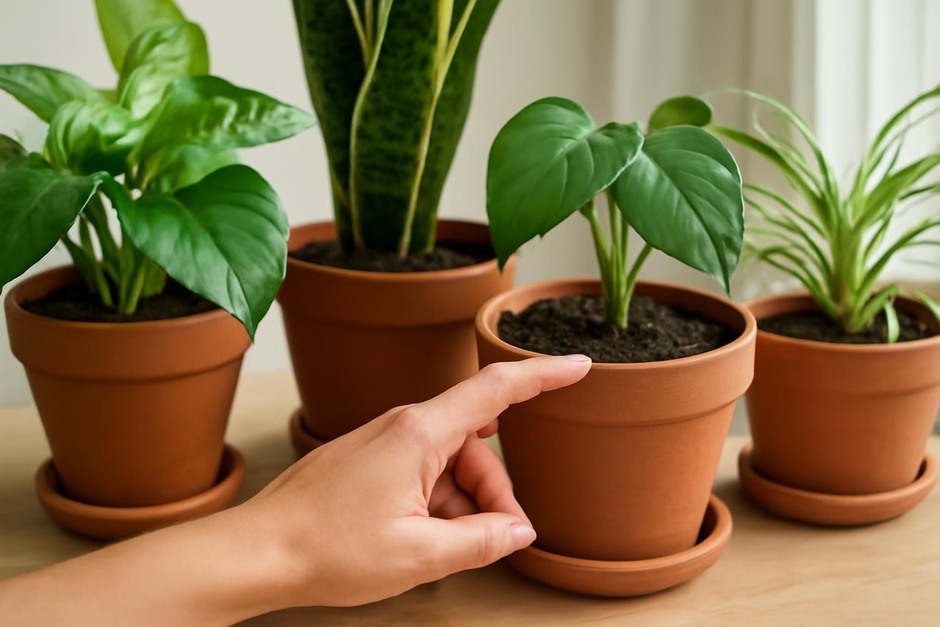
- Use three small, identical test pots. Put a resilient cutting or small seedling you already have—one that won’t be ruined by a short trial—in each pot (for example, a pothos cutting or a succulent offset).
- Place each pot in a different candidate spot you measured earlier. Keep watering and feeding very light and equal.
- Observe weekly for 2–4 weeks: note leaf color, new growth, stretching toward the light (etiolation), or sun scorch.
What to look for
A good spot shows steady color and some new growth. If leaves pale, burn, or the plant leans and stretches, that spot is too intense or too weak. The biological response confirms the measurements and is especially helpful for picking spots for fussy plants.
Experiment 5 — Duration and Seasonal Notes: map the hours
Goal: turn observations into a simple map that accounts for how long spots receive direct sun and how that changes with season.
Method
- Choose the spot that looked best in Experiments 1–4.
- For a week, note the time range when that spot receives direct sun (for example, 9:30–11:00). Also note when it’s the brightest indirect light (midday, afternoon).
- Add a short seasonal note in your map: “Winter morning sun 10–11” or “No direct sun in midwinter.”
What to look for
This tells you whether a spot is reliably suitable year-round or only for part of the year. A plant that tolerates only a few hours of direct sun will be fine in a spot with limited direct hours but not in one that receives noon sun in summer.
Finish with a simple light map. On a small sketch of the window and nearby furniture, mark each tested spot with a short note: bright direct (hours), bright indirect, low. Add one recommended plant type for each spot (e.g., “bright indirect — snake plant or fern”). Keep the map near the sill or in your plant journal.
These five small experiments take a weekend and give you a repeatable skill: instead of guessing, you’ll place plants based on measured light, a few photos, and how real plants respond. Over time, the same routine helps you adapt when furniture moves or the seasons shift—turning an often-frustrating choice into a steady, useful habit.