Moving a Houseplant to a New Spot: A Calm Step‑by‑Step Method and How to Fix Common Missteps
Step-by-step method: a calm checklist to move a plant without shock
This is a practical, low-stress routine you can use any time you want to move a plant: to a brighter window, into a different room, or to rearrange your collection. Follow each step slowly and treat the move as a brief transition rather than an instant change.
-
Observe the current conditions (24–48 hours before).
Note light direction, intensity (bright/indirect/low), typical daily temperature range, and how often you water. Sketch or take a quick photo of the plant’s current orientation so you can restore leaf-facing if needed.
Common mistake: Assuming the new spot has the same light. Correction: measure or compare for a day—natural light varies more than we expect.
-
Check the plant’s immediate needs.
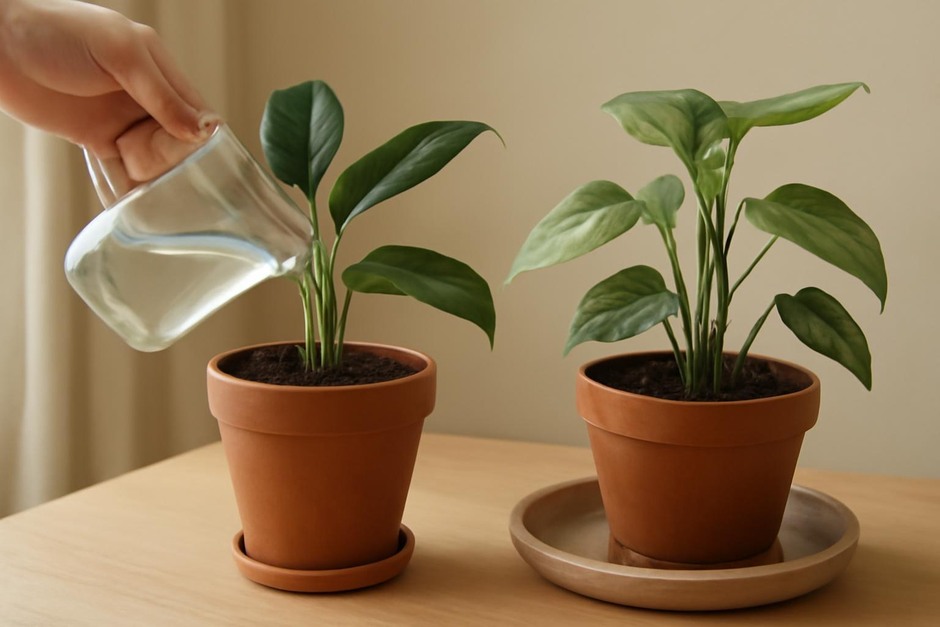
Water only if the soil is notably dry. Avoid moving right after heavy watering or right before a scheduled watering—either extreme ups the chance of stress.
Common mistake: Moving a soggy plant, which can compact soil and encourage root issues. Correction: let excess moisture subside so the root ball is cohesive but not waterlogged.
-
Prepare the new location.
Clear the area, remove drafts or heat sources, and consider a small stand to lift the pot to similar height as before. If light is stronger, place a sheer curtain or move a few feet further from the window.
Common mistake: Placing immediately in front of an unfiltered south or west window. Correction: start a little farther back and bring closer over several days.
-
Transport gently and keep orientation.
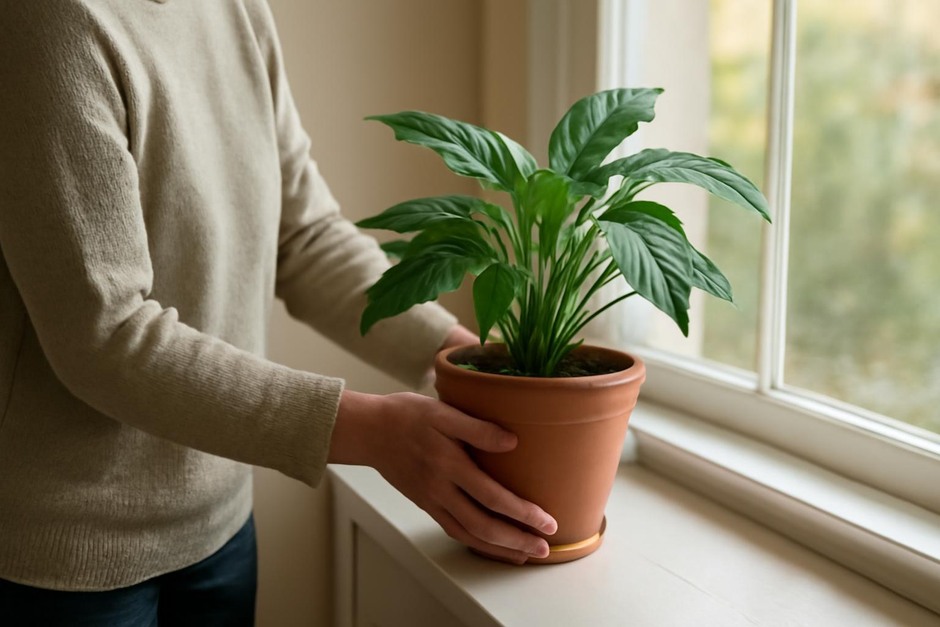
Turn the pot so the front faces the same relative direction after moving. Carry the plant steadily—avoid sudden jostling. If moving many plants at once, move them in batches to keep track of individual needs.
Common mistake: Rotating plants so leaves that used to face light end up shaded. Correction: restore leaf orientation and rotate gradually over weeks, not all at once.
-
Acclimate over 1–2 weeks.
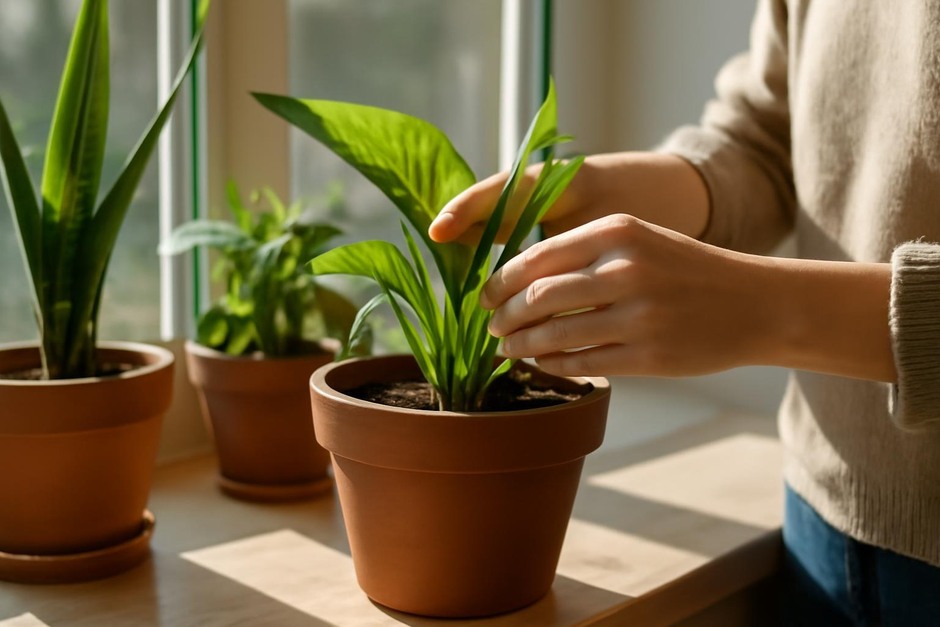
Give the plant a few days to a week with minimal disturbance. Watch water needs—brighter spots dry faster. Resist the urge to repot or fertilize immediately; allow the plant to settle first.
Common mistake: Overreacting to a few drooping leaves by changing multiple factors. Correction: change only one thing at a time (light, water, or placement) and wait several days to judge the effect.
-
Record and adjust routine.
After the first week, note changes in soil moisture and leaf posture. Adjust watering schedule and, if necessary, move slightly closer or farther from the light source until the plant looks comfortable.
Common mistake: Not updating care habits after a move. Correction: shift watering and feeding to reflect the new spot’s conditions.
Variations for different situations
Seasonal shifts
For moves prompted by seasonal light changes (e.g., winter dimming or summer glare), lengthen acclimation to two weeks. In winter, consider supplemental light; in summer, use a sheer curtain or move the plant a few feet back.
Moving many plants at once
Group plants by light need and move similar groups together. Keep a quick tag (sticky note) noting previous positions for the first week, then remove tags when each plant settles.
Short-term moves (staging or cleaning)
If you must place plants temporarily in a less bright area, keep the time short (a day or two) and avoid watering. Limit handling and return them promptly to their usual spot.
Troubleshooting: quick fixes for common problems after a move
-
Drooping leaves within 48 hours
Likely shock or a brief change in humidity/temperature. Check soil moisture; only water if dry. Move back to a familiar orientation and give 3–7 days to recover.
-
Yellowing lower leaves after a week
Often a watering mismatch—either too much in a darker spot or too little in a brighter one. Adjust watering frequency and improve drainage if needed.
-
Brown leaf edges appearing
Could be increased light, low humidity, or heat exposure. Move slightly away from the source, increase humidity nearby, and avoid placing near vents.
-
No new growth after several weeks
Normal for slow seasons or when a plant is using energy to acclimate. Be patient; avoid fertilizing until new leaves begin to appear.
-
Pest flare‑ups
Stress can make pests more visible. Inspect carefully and treat pests directly on affected leaves rather than changing the spot repeatedly. Quarantine if needed.
Moving plants is mostly about small, deliberate changes and a little patience. Keep notes for a few weeks, change only one variable at a time, and you’ll learn how each plant prefers to be eased into a new spot.