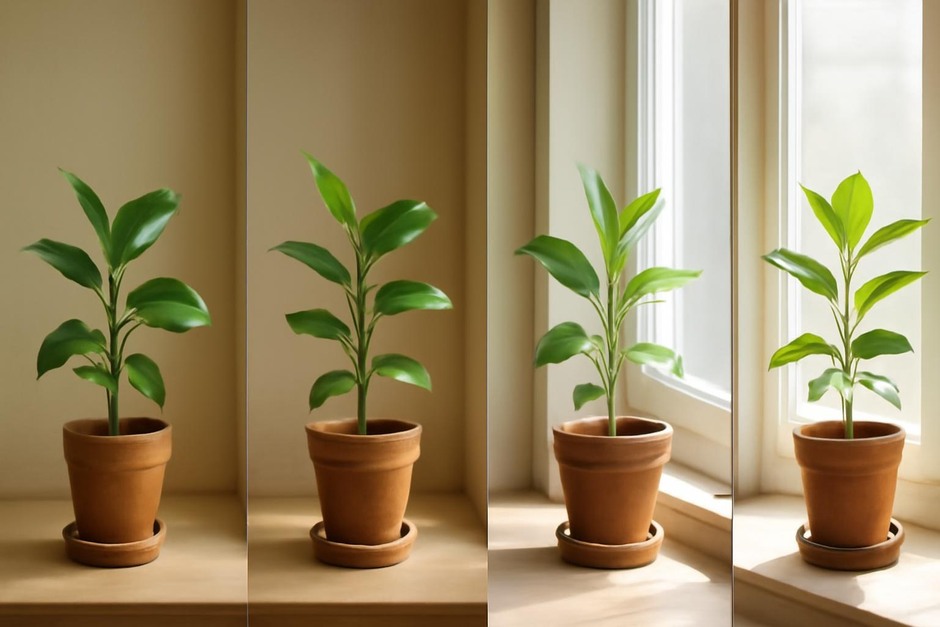
Five Small Experiments to Gradually Move a Houseplant into Brighter Light
Why small experiments?
Many indoor plants prefer steady, moderate light and can be surprised by an abrupt move into a bright windowsill. Rather than making a single big change, these five short experiments help you learn how a particular plant responds while keeping risk small. Each experiment takes a few days to a couple of weeks and builds a simple skill: moving a plant closer to light without causing stress.
Experiment 1 — Establish a baseline: notice the plant where it is
Purpose: Learn what normal looks like for this plant so you can spot change quickly.
- Pick one healthy leaf and photograph or sketch it. Note color, size, and any irregularities.
- For three mornings, sit where you can see the plant for five minutes. Note how the leaves face the window, whether they open toward light, and if any leaf edges brown when sun hits them.
- Record the current distance from the window and whether the glass has sheer curtains or a blind.
What to watch: leaf color, new growth rate, and any sudden droop. If the plant is already showing stress, pause further experiments and treat the root cause first.
Experiment 2 — Add reflected light
Purpose: Increase available light gently without moving the plant.
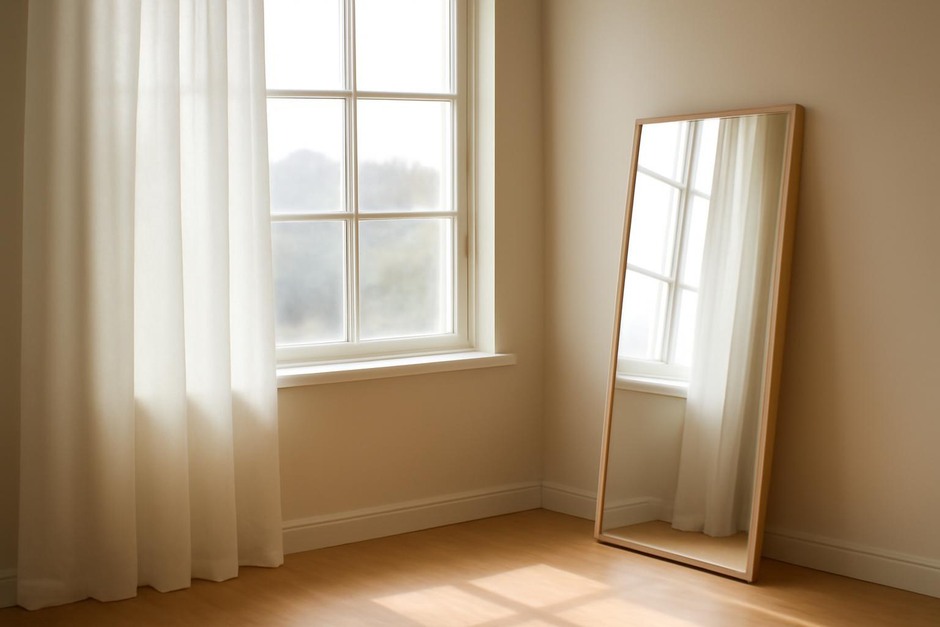
- Place a white poster board or a light-colored, low-profile reflector on the opposite side of the room, angled to bounce window light back onto the plant.
- Keep this setup for 7–10 days. Continue your short daily observations and photograph the reference leaf weekly.
What to watch: slight increase in leaf brightness or new, sturdier growth indicates the plant enjoyed the extra light. If leaf edges scorch, remove the reflector or move it farther away; direct concentrated reflections can intensify light more than intended.
Experiment 3 — Introduce short bright exposures
Purpose: Teach the plant to tolerate brighter windows in short doses.
- Choose a morning or late afternoon window with strong but not midday sun. Move the plant to that spot for one hour on the first day.
- If the plant tolerates the hour without leaf curling or browning, increase exposure by 30 minutes every 2–3 days until you reach 3 hours total.
- Keep the plant in its usual spot the rest of the time.
What to watch: immediate browning or wilting means back off; try a closer but shaded spot instead. Slow signs of stress over days suggest you increased time too quickly—reduce to the last comfortable duration.
Experiment 4 — Short daily shifts closer to the window
Purpose: Build tolerance to proximity rather than duration.
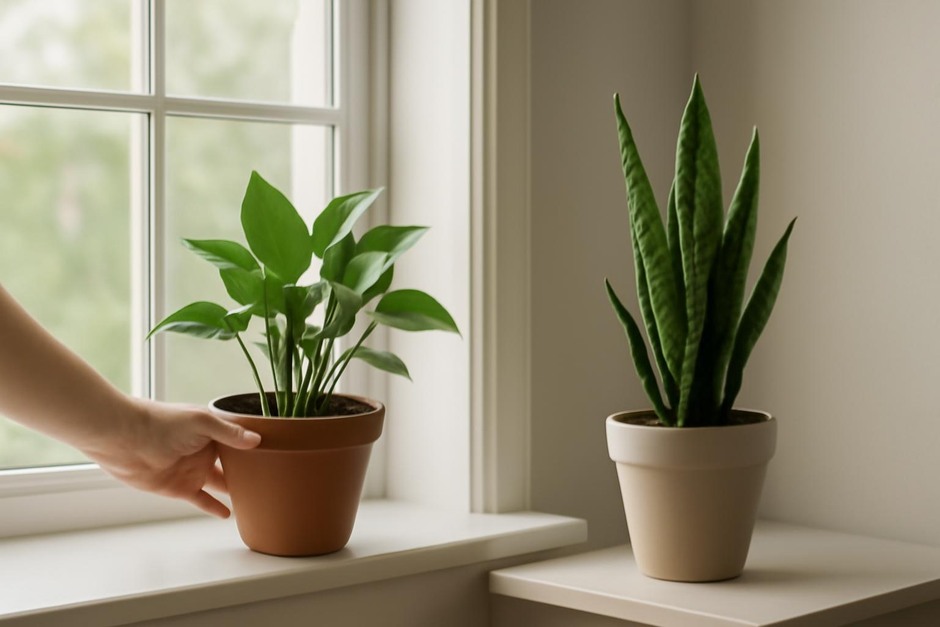
- Each morning, move the plant 10 to 15 centimeters nearer the window for 30–60 minutes, then return it to its regular place.
- Repeat daily for one week, extending the near-window time gradually if the plant remains comfortable.
What to watch: look for leaf orientation changes and a steady, healthy appearance of new leaves. If leaves begin to pale or brown where sun hits directly, stop moving the plant and try increasing light with reflections or filtered sun instead.
Experiment 5 — A trial stay in the brighter spot with protection
Purpose: If the plant handled prior steps, test a longer stay using filters to reduce intensity.
- Place a sheer curtain, translucent shade, or a thin piece of fabric between the plant and direct sun. Move the plant to the brighter spot for a full day.
- Keep this setup for 7–14 days, maintaining your daily leaf checks and photos.
- If the plant does well, gradually reduce the filter density over several weeks to reach the final desired light level.
What to watch: new growth that is proportionate and not stretched suggests success. Any rapid leaf loss or persistent browning means return the plant to its previous location and restart the sequence more slowly.
Simple troubleshooting and final notes
Be patient. The experiments are small by design; they give you time to notice changes and respond. If a plant resists the change at any step, that response is useful information—some plants naturally prefer steadier, lower light and will be healthier left in a gentler spot.
End each experiment by comparing your photos and notes to the baseline. Over time you will develop a reliable sense of how much light a particular plant can accept. That skill makes moving plants into brighter windows predictable and low-stress for both you and your plants.