A Calm Step‑by‑Step Pruning Method for Houseplants (and How to Fix Common Missteps)
A simple, repeatable pruning routine for common houseplants: why each cut matters, variations for different growth habits, and a troubleshooting checklist for common mistakes.
Pruning is one of the most effective yet low‑stress ways to keep houseplants healthy and attractive. This method focuses on a clear, repeatable sequence you can use for most common indoor species, followed by simple variations and a compact troubleshooting checklist that addresses the usual slips people make.
Step‑by‑Step Pruning Method
- Set the scene. Choose a bright, calm time of day. Move the plant to a surface where you can turn it and inspect all sides. Gather sharp scissors or a small pair of pruning shears, a soft cloth, and a shallow tray for removed material.
- Look for three kinds of targets. Identify (a) dead or yellowing leaves, (b) spent flowers or seedheads, and (c) leggy or crowded stems. Prioritize dead tissue first, then spent flowers, then structural shaping.
- Make decisions from the base outward. When removing a stem or leaf, trace it back to its base. Cut as close to the base as feels natural for the plant—close for a tidy, compact look; slightly higher above the soil if the plant tends to resprout from nodes.
- Angle and position matter. Make clean diagonal cuts rather than ragged or crushing ones. Diagonal cuts shed water better and heal with less risk of rot.
- Reduce rather than remove. If you’re unsure how much to take, remove up to one third of visible foliage at a single session. For plants recovering from stress, remove less and spread work across several sessions.
- Step back and reassess. Rotate the plant and check its silhouette. Stop when the overall form feels balanced. Put trimmed material in the tray and wipe tools between heavy jobs or if you move from plant to plant.
- Finish with a small care check. After pruning, check soil moisture and light. Most plants benefit from a few days of steady light and normal watering habits; avoid large changes to water or placement immediately after heavier pruning.
Why each step matters (short notes)
- Setting the scene reduces stress for you and the plant—pruning is easier when you can see what you’re doing.
- Prioritizing targets keeps energy focused on new growth rather than sustaining dead or spent tissue.
- Cutting at the base encourages cleaner regrowth and avoids leaving unsightly stubs.
- Diagonal cuts heal better and discourage water pooling that can invite rot.
Variations: Adapting the Method to Plant Types
Vines and trailing plants
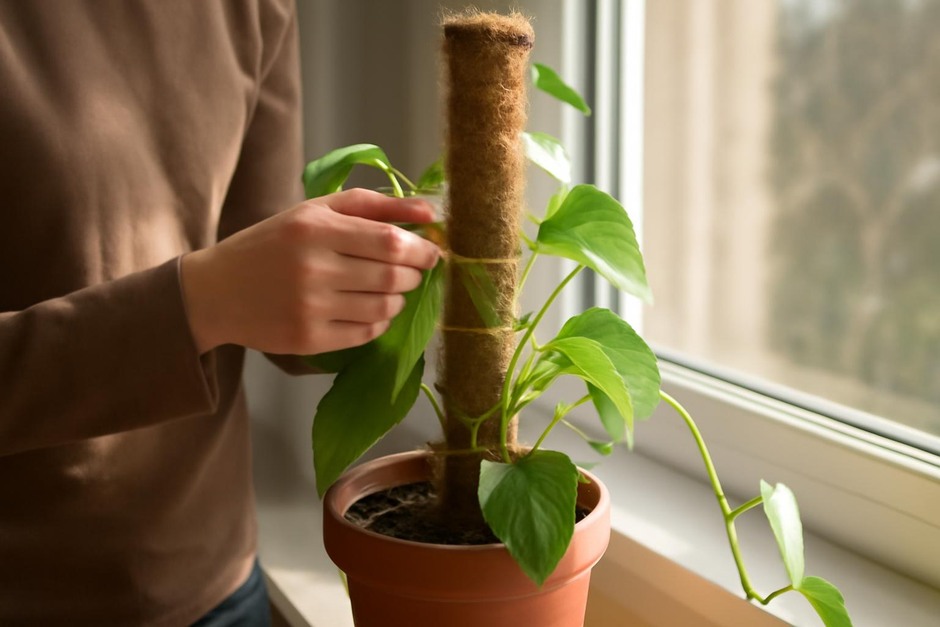
- Prune just above a node (a small bump where leaves or aerial roots appear) to encourage branching. Keep more length if you want a cascading habit; shorten aggressively to create bushier growth.
- Use the removed tips for propagation—place cuttings in water or porous soil if you want new plants.
Rosettes and succulents
- Remove only damaged or dead leaves; avoid heavy pruning of healthy leaves because they store water. If a stem becomes woody, cut it back and allow the wound to callus before repotting or replanting cuttings.
Ferns and finely textured plants
- Trim fronds at the base to maintain a tidy crown. For older plants, remove only fully yellow fronds to keep the fern’s natural layering.
Woody or shrub‑like indoor plants
- Lightly shape in spring or during active growth. Avoid heavy structural cuts just before a low‑light period; aim for gradual shaping over a few months.
Troubleshooting: Common Mistakes and Calm Corrections
- Mistake: I cut off too much and the plant looks bare. Fix: Return the plant to its usual light and watering routine and wait—new growth often appears in a few weeks. If possible, rescue a few healthy leaves or stems before cutting next time to keep photosynthetic capacity.
- Mistake: Yellowing after pruning. Fix: This can be normal if large portions were removed. Ensure the plant isn’t overwatered, and avoid moving it to a much brighter or dimmer spot immediately.
- Mistake: Ends go brown after pruning. Fix: Check that cuts were clean and tools weren’t crushing stems. Improve air circulation and avoid watering late in the day if rot is suspected.
- Mistake: No regrowth from a cut stem. Fix: Some species resprout slowly or from a different point. Be patient for several weeks; if the stem remains dormant, consider rooting the cutting or allowing nearby buds to develop.
- Mistake: Pest or disease spread. Fix: Sanitize tools between plants and remove affected parts carefully. Isolate the plant until you’re confident the issue has cleared.
Pruning is skillful, not stressful. Use this calm, repeatable method, adjust the variations to the plant type, and refer to the troubleshooting checklist when things don’t go as planned. In time, small, confident cuts will make your indoor plants healthier and the room feel lighter.