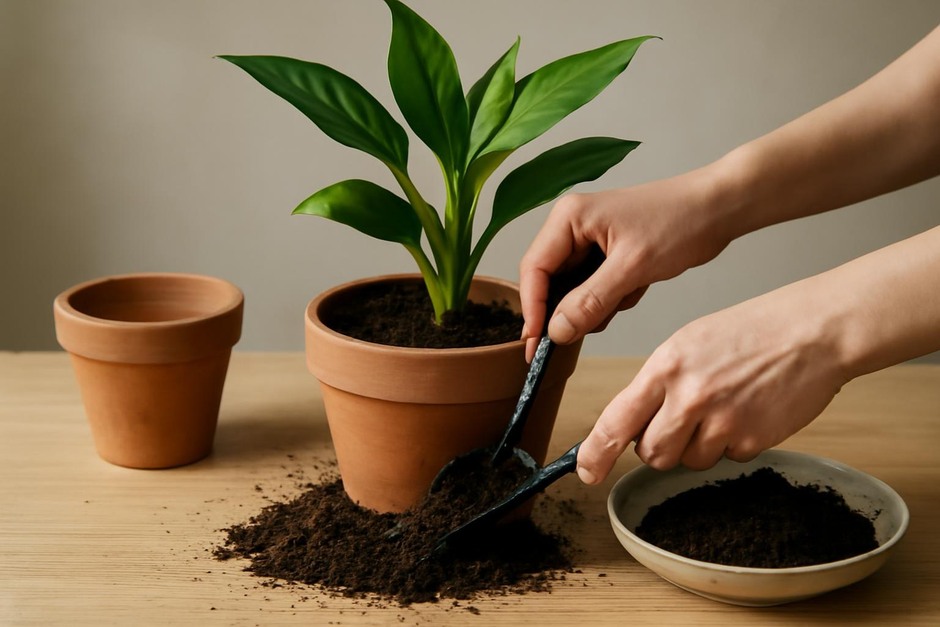
Three Repotting Methods for Indoor Plants: Step-by-Step and How to Choose
Repotting is a routine part of indoor plant care, but there’s no single right way. Different methods trade off disturbance to roots, speed, and how much new material you need. Below are three commonly used approaches—full pot swap, bare-root refresh, and top-dress—each presented as a clear step-by-step method with materials, expected results, and when to choose it.
Method 1 — Full Pot Swap (Standard Repot)
When to use: plant is rootbound, pot cracked, or you need a larger container and a fresh mix. Trade-offs: more root disturbance and short-term stress, but a clean start and improved drainage/nutrients.
Materials: a new pot 1–2 sizes larger (with drainage), fresh potting mix suited to the species, trowel or scoop, watering can, optional layer of coarse material for extra drainage.
- Water the plant lightly a day before repotting so the root ball holds together.
- Prepare the new pot: add a thin layer of mix (or coarse layer if using) so the plant will sit at the same depth as before.
- Loosen the root ball in the old pot—run a knife around the inside if stuck—and turn the pot to release the plant.
- Inspect roots: trim any clearly rotten or circling roots with clean shears.
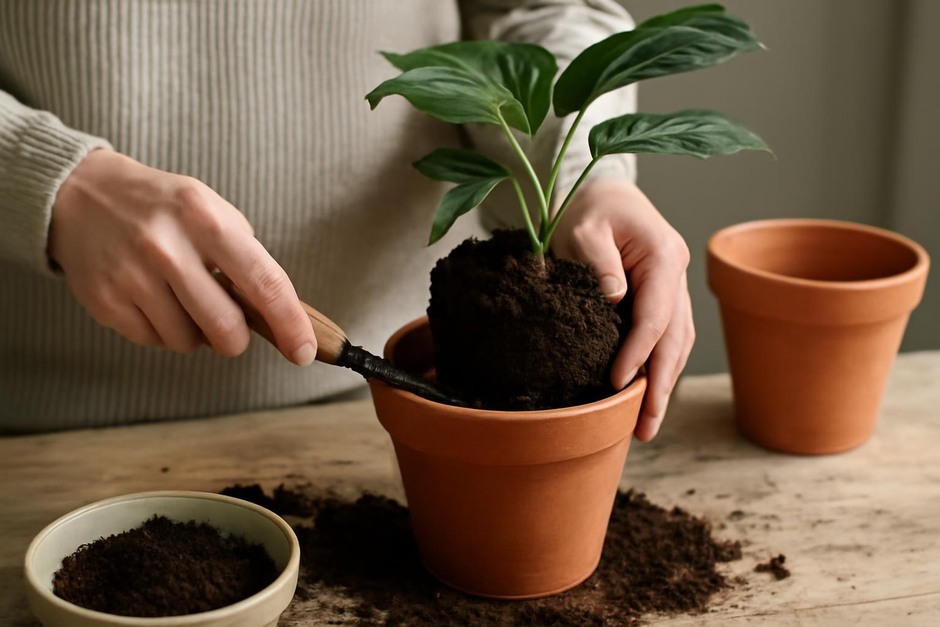
- Place the plant in the new pot, fill around the sides with fresh mix, and firm lightly to remove large air pockets without compressing the soil.
- Water thoroughly until excess drains. Let it settle in a shaded, stable spot for a week while it recovers.
Pros and Cons
- Pros: full refresh of growing medium, easier to correct drainage and pot size.
- Cons: greater transplant shock, takes more time and soil.
Method 2 — Bare-Root Refresh (Aggressive Root Prune and Replace)
When to use: persistent drainage problems, heavily compacted soil, or when pests/fungi are suspected. Trade-offs: highest short-term shock, but best for removing old mix and diseased material.
Materials: fresh potting mix, clean work surface, scissors or pruning shears, water, optional dilute hydrogen peroxide rinse for pest/fungus cleaning.
- Gently remove the plant from its pot and knock off or wash away old soil to expose roots.
- Inspect roots closely. Trim away any black, mushy, or rotten pieces; shorten overly long circling roots to encourage branching.
- If pests or mold are present, briefly rinse roots with water; for stubborn issues, a short dilute soak (follow species-appropriate guidance) can help.
- Plant into fresh, well-draining mix in a clean pot sized similarly or slightly larger. Firm and water as in Method 1.
- Keep the plant in lower light while it recovers for 1–2 weeks, and avoid fertilizing until new growth appears.
Pros and Cons
- Pros: removes old compaction, treats root problems directly, can rejuvenate sluggish plants.
- Cons: high stress to the plant, requires confidence and cleaner conditions.
Method 3 — Top-Dress (Minimal Disturbance)
When to use: plant is healthy but you want to refresh nutrients, or the pot is slightly rootbound but you want minimal disturbance. Trade-offs: least risky short-term, but won’t correct deep drainage or root crowding.
Materials: fresh potting mix, small trowel, optional slow-release fertilizer or compost.
- Remove 1–2 inches of soil from the top of the pot using a scoop.
- Loosen the remaining surface gently with a fork to improve aeration if compacted.
- Add fresh mix to bring the surface back to level. Blend a modest amount of slow-release fertilizer if desired.
- Water lightly to settle the new layer. Repeat annually or as needed.
Pros and Cons
- Pros: quick, low shock, conserves existing root structure and microbes.
- Cons: won’t fix rootbound conditions or serious drainage issues.
Variations and When to Combine Methods
- Combine top-dress with a small root trim for mildly rootbound plants to balance disturbance and renewal.
- Use a liner pot inside a decorative cachepot (pot-in-pot) to make future swaps easier—this reduces soil waste and disturbance.
- For plants that dislike change, split the difference: do a top-dress now and schedule a full pot swap in the next growing season.
Troubleshooting
- Wilting after repotting: normal for a few days. Keep soil evenly moist, reduce light intensity for a week, and avoid fertilizer until recovery.
- Yellowing leaves: overwatering is common after repotting—check drainage and let the upper inch of soil dry before watering again.
- Root rot returns: consider Method 2 next time and use a faster-draining mix; sterilize pots if pathogens are suspected.
- Plant shows no growth for months: confirm light and temperature are adequate; minimal root pruning and a gentle fertilizer in the next season can help.
Choosing a repotting method is often about balancing short-term stress against long-term health. Use the least disruptive option that addresses the problem you see—fresh soil for nutrients, full swap for drainage and size, or bare-root when disease or extreme compaction needs correction.